 Most Popular Songs With Baby in the Title
  The Songs Everyone Knows but Not the Name
  Get Up and Dance! Songs Like Cupid Shuffle to Keep the Party Going
  How to Memorize Violin Note Chart Quickly?
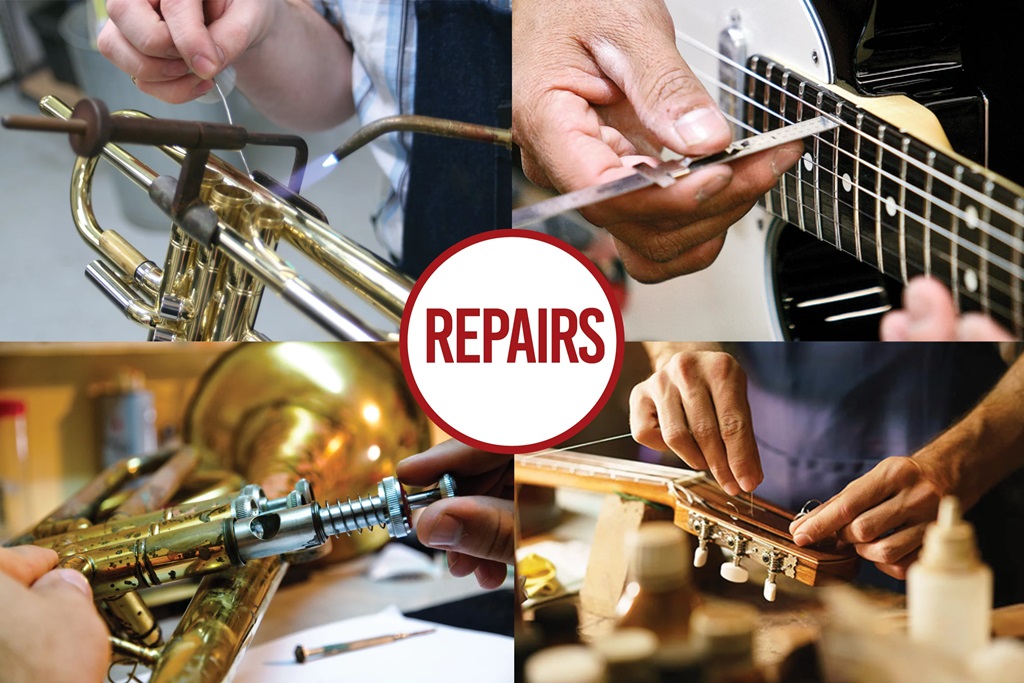
Learning to play an instrument takes passion, dedication, and no small amount of care and upkeep. Like any prized possession, your musical equipment requires regular maintenance and the occasional repair job to keep it sounding its best for years to come. Whether you’ve just invested in your first guitar or are deep into collecting vintage gear, understanding instrument maintenance basics is essential.
From changing strings to polishing brass, this beginner’s guide covers everything you need to know to become an expert at DIY music instrument repairs and maintenance.
The Basics: Why Proper Music Instrument Repairs Matters
Proper cleaning and upkeep keep your equipment looking, feeling, and sounding its absolute best. Over time, the oils from your skin, dust, dirt, and other grime wear down finishes, create tiny abrasions on wood and metal, and gunk up moving parts.
Without regular wipe downs, conditionings, and polishings, your beloved saxophone, violin, or guitar collects abrasions, calcium deposits, corrosion, rust, and other defects. These not only look unsightly, but they greatly reduce sound quality and playability too.
You don’t have to be an expert luthier to care for your axes either. With a gentle touch, the right products and tools, and regular TLC, keeping instruments museum-ready is surprisingly straightforward. Consider instrument maintenance an essential aspect of musicianship.
Stocking Your Musical Instrument Repair Kit
Before repairing or restoring any instrument, stock your DIY toolkit with a mix of basics tailored to your specific needs. At a minimum, stash these handy items:
Microfiber cloths and polishing rags
- Cotton swabs
- Soft toothbrushes
- Lint-free cloth
- Distilled water
- Isopropyl alcohol
- Absorbent paper towels
- Tweezers
- Screwdrivers (assorted sizes)
- Pliers
- Wire cutters
- Hex wrenches
- Soldering iron
- Magnifying glass
- Skin cleansers and protectants
- String winder
- Peg dope
- Fretboard conditioner
- Metal polish
- Furniture polish and more…
Gather any specialized tools required for your particular instruments too, like bow rehairers, seam glue, and neck support rods. Create custom kits for each musical family as well, with guitar products in one box, brass accessories in another, etc.
Top Music Instrument Maintenance Tips
General Instrument Care Do’s and Don’ts
Before diving into instrument-specific repair advice, master these across-the-board best practices first:
DO:
- Go slow and work cautiously to avoid damage
- Use soft, lint-free cloths on delicate finishes
- Remove strings, bridges, mouthpieces, etc. before deep cleanings
- Carefully wipe dirt and oils from crevices and carvings
- Use household items for polishing unlacquered metals
- Frequently dust cases and bags
- Wipe down your equipment after every use
- Wash hands before and after handling instruments
- Loosen strings whenever storing instruments long term
DON’T:
- Use water or liquid cleaners on wood pieces
- Scrub too aggressively on fragile or aging gear
- Use cleaning products without testing on discrete areas first
- Attempt DIY repairs on valuable vintage collectibles
- Apply too much pressure when polishing metalwork
- Store instruments in direct light, heat, or humidity
Now let’s go through key maintenance musts for many common musical instruments:
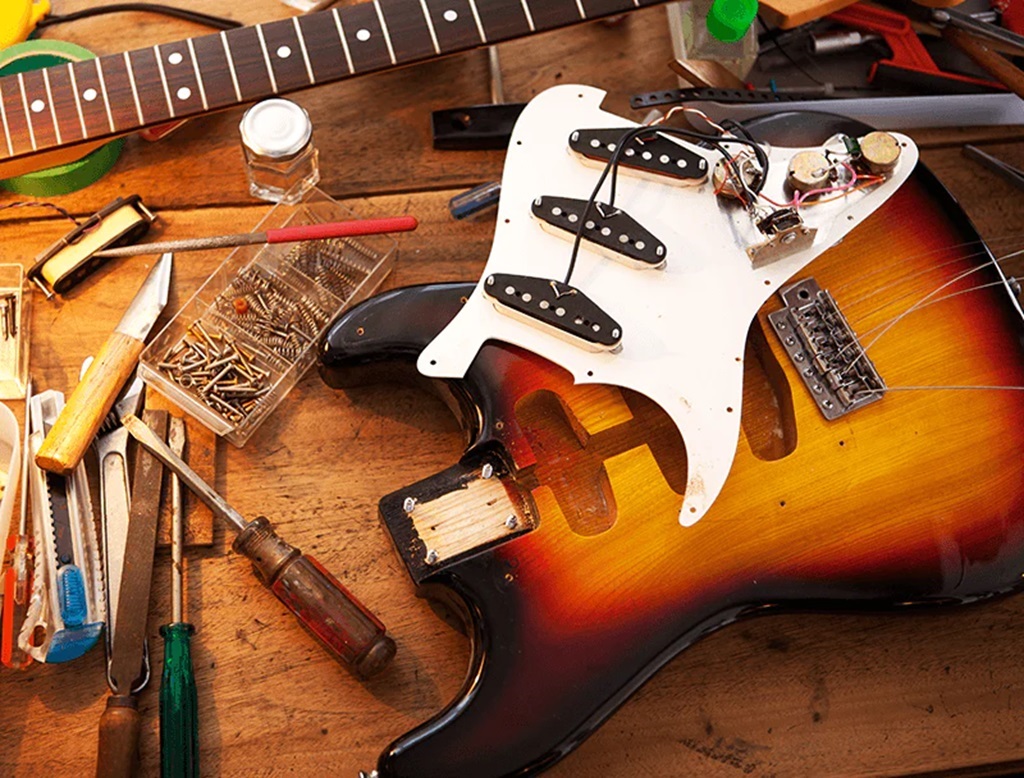
Caring for Guitars (Acoustic, Electric or Bass)
From Willie Nelson to BB King, a well-played guitar becomes almost like another appendage for life’s great musicians. Nurturing that special six-string connection means keeping your guitar or bass in great shape year after year through regular upkeep and music instrument repairs.
Here are 9 tips to keep those frets and strings shining:
Change guitar strings regularly
Swap out crusty strings every few weeks with fresh sets to restore crisp tones. For acoustics, coated strings also reduce finger squeaks and friction noise.
Clean fretboards monthly
Polish rosewood, ebony, maple or other fretboard woods using lemon oil or special fretboard conditioners. These lift away grime while moisturizing the wood.
Adjust the truss rod when necessary
A curved neck with medium relief helps strings vibrate freely. Tightening or loosening the truss rod brings minor bows back into alignment as seasons and humidity levels shift.
Polish metal frets, bridges and tailpieces: Music Instrument Repairs
Use metal polish and a soft rag to refresh nickel, brass, bronze and other metallic guitar parts every couple months. This removes green corrosion and black tarnish buildup.
Deep clean your strings and neck
For a super-thorough cleaning every 3-6 months, remove all strings and electronics to carefully wipe down the fretboard, body contours, carved cutaways and other detail work with small brush tools. Re-lubricate moving parts like nut slots, saddles, and tuning machines too before re-stringing.
Clean electrical connections
For electric guitars and basses, unplug and spray out input jacks, pots, and switches with electrical contact cleaner every year to prevent crackling tones.
Smooth worn frets when needed
Replace sharp, dented or uneven frets to improve playing feel and extend your guitar’s lifespan. While beginners can try do-it-yourself kits, it’s best left to skilled techs.
Apply fresh finish coats over scratches
For cosmetic repairs, carefully sand damaged areas and brush on new coats of lacquer, nitrocellulose, wax or oil and varnish blends. Automotive touch up paints also work.
Replace faulty electronics
Swap out dead pickups, worn out pots and other electrical components on electric guitars and basses to revive performance. This advanced repair is typically best done by professionals however.
Caring for Violins, Violas and Cellos
With their delicate woods, finicky strings, and sky-high price tags, stringed instruments demand diligent maintenance both inside and out. Keep your stradivarius singing sweetly through the years with proper TLC:
Perform band set up and adjustments
Precisely position sound posts, bridge heights while checking for flat fingerboards every month or two, especially during periods of low or high humidity. Luthiers can provide full adjustments and set ups as needed.
Clean chin and shoulder rests
Sanitize ebonite, wood and composite chin and shoulder rests on a weekly basis using disinfecting wipes. Rinse thoroughly and allow them to fully air dry afterwards.
Freshen up your bow
Use bow cleaner to mop away built up rosin every few weeks, allowing the hair to completely dry afterwards. Too much caked on rosin hampers playing and risks ruining bow hair.
Deep clean the body routinely
Several times per year, use specialty violin cleaners and polish to gently yet thoroughly clean rosin residue from the strings, fingerboard, bridge and body without damaging the delicate finish.
Humidify religiously
Keep instruments between 35-65% relative humidity year round using room humidifiers. Consistent moisture levels prevent wood cracking and seams from opening up or becoming too stressed.
Re-hair bows when frayed
Frayed bow hairs snag and stick, producing subpar tones. Rehairing restores that silken glide across strings with full-bodied voice and volume. Professionals can re-wrap the frog and replace set screws too if worn.
Replace broken strings promptly
Worn strings lack tension for precise fingering and rich intonation. Keep ample spare strings on hand for urgent replacements during performances or practice sessions.
Touch up minor finish flaws
Carefully dab shellac, French polish, or diluted wood glue into surface nick and scratches using a toothpick. Allow ample drying time before reassembling and playing again.
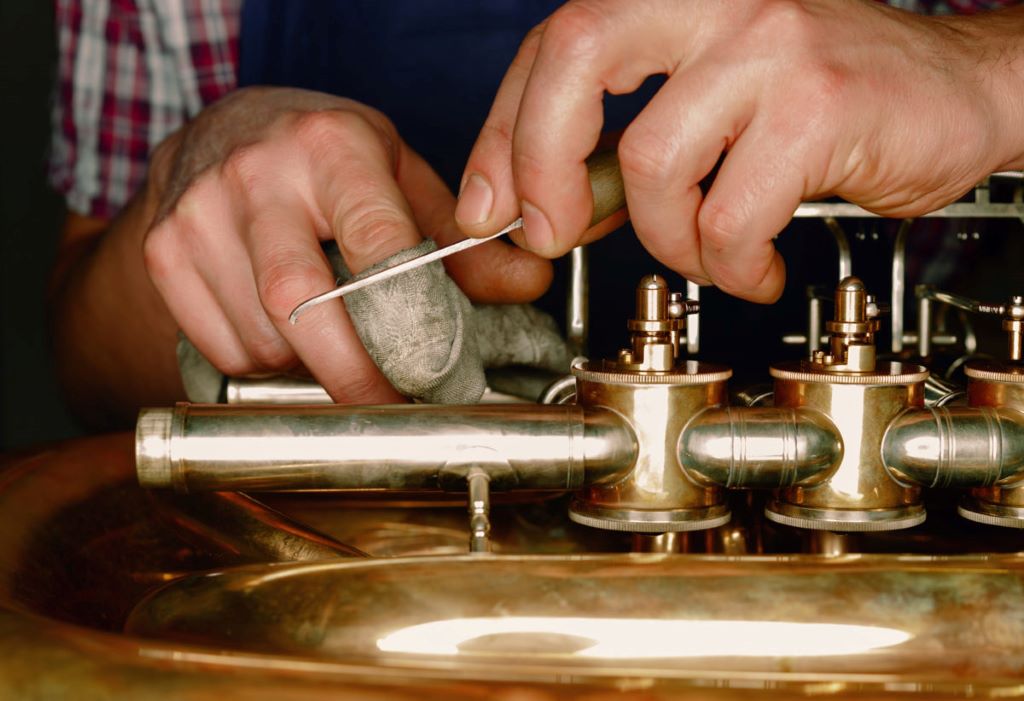
Percussion Equipment Care Fundamentals: Music Instrument Repairs
From crisp snare drums to shimmering cymbals, well-tended percussion components sound exponentially crisper than their neglected counterparts. Though rugged by design, buildups of dirt, grime and oxidation quickly take tolls on drums, stands and beaters without due diligence.
Thankfully, reviving that rhythm section luster isn’t difficult. Here’s how to keep cowbells and triangle chimes pristine too:
Tune drum heads regularly
Replace loosened drum heads and re-tune tension rods to optimal resonant frequencies every month or two with a drum dial tension meter. This fine tunes warm, rounded tones.
Clean metalwork monthly
Remove slight oxidation and cloudiness from nickel, chrome and steel hardware pieces like tension casings, lug casings and cymbal stands using metal polish and buffing rags monthly to prevent accelerated corrosion.
Wash away grime carefully
Clean drum shells, stands and pedal parts with mild soap and water just a few times per year, taking care to avoid soaking porous drum skins. Rinse and dry hardware thoroughly afterwards.
Sanitize beaters
Using disinfectant wipes, multi-surface spray or mild bleach solutions, sterilize drum sticks, mallets and beaters weekly to eliminate germs and bodily oils that erode padding and grip materials over time.
Loose component tightening
From wobbly cymbal stands to creaky bass drum pedals, tighten screws, wing nuts, bolts, bearings, joints and connectors across your kits every couple months to keep everything structurally sound.
Heads and skin replacements
Worn playing surfaces on drum skins, well-loved mallet heads and grip tapes lose their lively response after years of use. Swap them out for fresh replacement components when tones become too deadened or lack attack.
Deep clean gear interiors
Over time, dirt and debris works its way under tension rods, into pipe tubing, crevices and orifices which can then impede performance. Use compressed air, pipe cleaners and cotton swabs annually to refresh gear.
Hardware polishing
In addition to metalwork cleaning, revive bland chrome, brass, carbon fiber and alloy drum hardware pieces like rim guards, clamps and brackets with polishing paste and buffing. The brilliant, light-reflective gleam looks fantastic.
Repair stress cracks ASAP
Even a single tiny stress crack on a cymbal or crisp snare drum can quickly grow worse with added pressure and vibration. Repair minor shell cracks using cyanoacrylate adhesive and seal cymbal fractures right away before attempting further play. Know when to call in the professionals for drum restorations as well. Prompt repairs prevent needing full replacements down the road.
No matter what instruments fill your orchestra, proper care and maintenance keeps the music playing for decades on end. Show your treasures the TLC they deserve by integrating regular upkeep into your ownership routine. Turn care and repair into relaxing rituals rather than chaotic crisis moments.
Your equipment will thank you through many long and harmonious years of vibrant play ahead.
FAQs
How much does it cost to professionally repair a musical instrument?
Instrument repairs costs vary widely depending on the type of instrument and extent of damage. Minor tweaks like string replacements may run $15-25, while significant repairs like finish refinishing, neck realignments or electronic replacements can cost several hundred to a $1,000 or more.
Can I fix my own musical instrument?
Yes, you can fix many minor instrument repairs and maintenance tasks yourself. However, significant structural damage, body cracks, neck curvatures and peg repairs often requires professional attention to restore playability and value. Always practice extreme care when trying DIY repairs on treasured instruments.
How often should you get instrument repairs?
How often you need instrument repairs depends on how frequently and intensely you play. However, a good rule of thumb is to bring instruments into techs for biannual tune ups and maintenance to keep everything structurally sound. Address any sudden cracks, malfunctions or deterioration right away though rather than delaying fixes.
What are signs my instrument needs repairing?
Major signs like cracks, warped necks, sticking keys or altering shapes clearly demonstrate repair needs. However, subtler symptoms like lackluster tone, fret buzzes, string height changes or sluggish response also indicate overdue maintenance for worn parts. Pay close attention while playing and address any performance changes promptly.
Where can I learn instrument repair skills?
Many luthier training programs, technical workshops and hands-on community classes are now available for learning DIY instrument repair basics. You can also watch tutorial videos, order educational books/DVDs or simply start slowly and carefully on your own gear under the guidance of trusted instrument tech professionals.
Conclusion
Caring for delicate music instrument repairs requires a gentle yet attentive touch. But with the proper maintenance techniques and repair knowledge, keeping your precious gear sounding phenomenal doesn’t require master technician skills. Embark on the delightful journey of exploring jazz-inspired Christmas melodies on your instrument of choice. Instead of fretting over potential wear and tear, simply integrate good cleaning habits after each use, condition materials routinely, replace worn parts as needed, and rely on qualified help for trickier restoration work. With some research and cautious handling, you’ll become an expert instrument caretaker in no time, ensuring your musical adventures are accompanied by the sweet sounds of a well-maintained instrument.