 Most Popular Songs With Baby in the Title
  The Songs Everyone Knows but Not the Name
  Get Up and Dance! Songs Like Cupid Shuffle to Keep the Party Going
  How to Memorize Violin Note Chart Quickly?
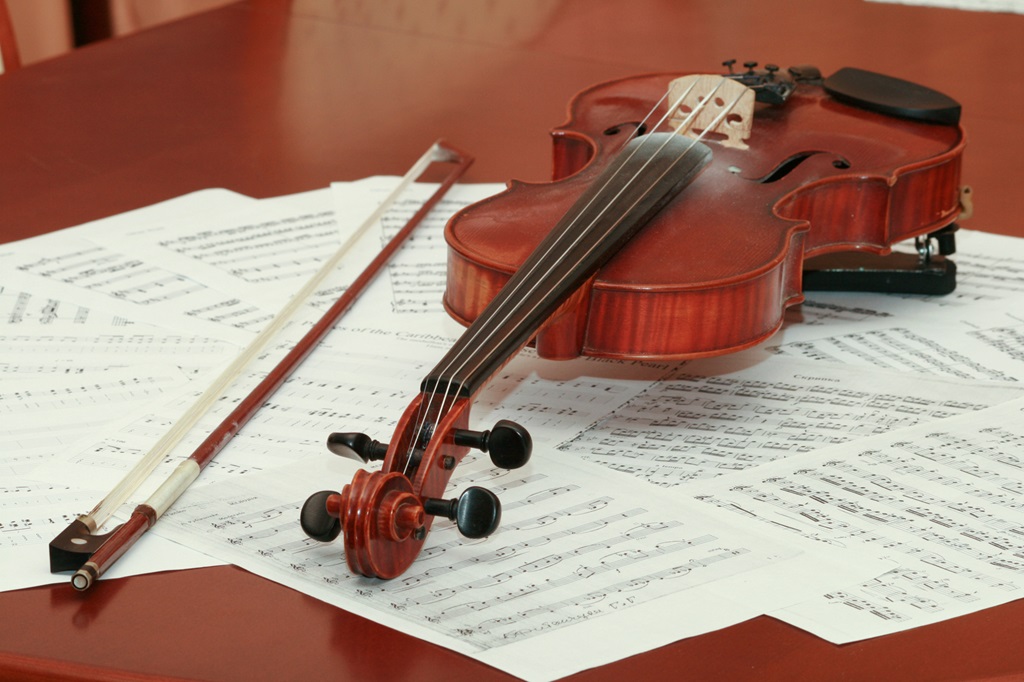
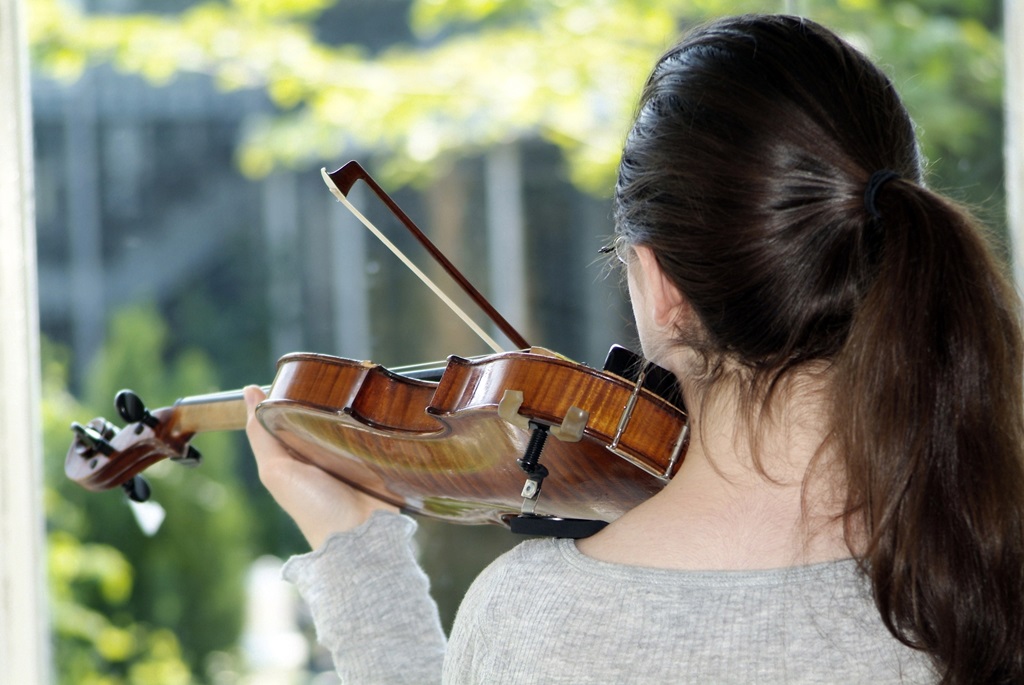
Playing the violin can be a challenging but rewarding experience. One of the most important accessories for violinists is the shoulder rest. This device attaches to the back of the violin and sits on your shoulder to hold the instrument in place and allow for proper playing posture. However, fitting and adjusting a shoulder rest properly is key to getting the most out of your equipment. This guide will walk you through the entire process of putting on a violin shoulder rest correctly.
Violin Shoulder Rest Basics
Before delving into the fitting process, it helps to understand the basic components and functions of a shoulder rest. Here’s a quick overview:
- Materials: Shoulder rests are typically made of wood, plastic, or composite materials. Wood and plastic rests mold better to your body shape over time. Composite rests offer more strength and durability.
- Feet: The feet or legs attach to the back of the violin. They come in different shapes, heights, and angles to suit different needs.
- Base: This is the curved part that sits on your shoulder. Wider bases distribute weight better for more comfort.
- Pads: Pads or cushions on the base or feet add extra comfort. Some allow you to adjust the height of the rest as well.
- Straps: Straps hold the base onto your shoulder. They are usually leather or synthetic leather. Some have adjustment buckles.
- Chinrest: Some models have an attached chinrest for extra stability and positioning. This is a matter of personal preference.
Now let’s get into the step-by-step process of getting your shoulder rest ready to use!
Step 1: Assess Violin and Body Size
The first step is taking stock of your personal violin setup and physical attributes. This will determine the best shoulder rest size and shape for you. Consider the following:
- Your violin size – full, 3/4, 1/2, etc. The shoulder rest needs to fit the back length.
- Your shoulder width and slope. Wider or narrower shoulders may need different base widths. Slope affects the angle.
- Your neck length. This impacts the necessary height and angle.
- Your personal preference and comfort. Do you like a snugger fit or more flexibility?
Take your time making these assessments. Even small adjustments to the rest can make playing much easier and more natural.
Step 2: Select the Proper Shoulder Rest
Using your measurements and preferences from Step 1, you can now browse shoulder rest models to choose the right one. Here are the key factors to take into account:
- Size: Make sure the base fits your shoulder width while the feet align with the back length of your violin.
- Feet position and angle: Consider the ideal position and angle to match your body type. Center-mounted or side-mounted feet each have pros and cons.
- Height: Pick a rest height that keeps the scroll at the correct angle. Too high or low strains your neck and shoulder.
- Materials: Try different material types like wood vs. composite. See what offers you the most comfort.
- Adjustability: More adjustable rests allow you to customize as needed. This adds versatility as you progress.
Don’t rush this decision – it’s worth consulting your violin instructor and trying out a few shoulder rests first if possible. A well-fitting rest makes playing much easier.
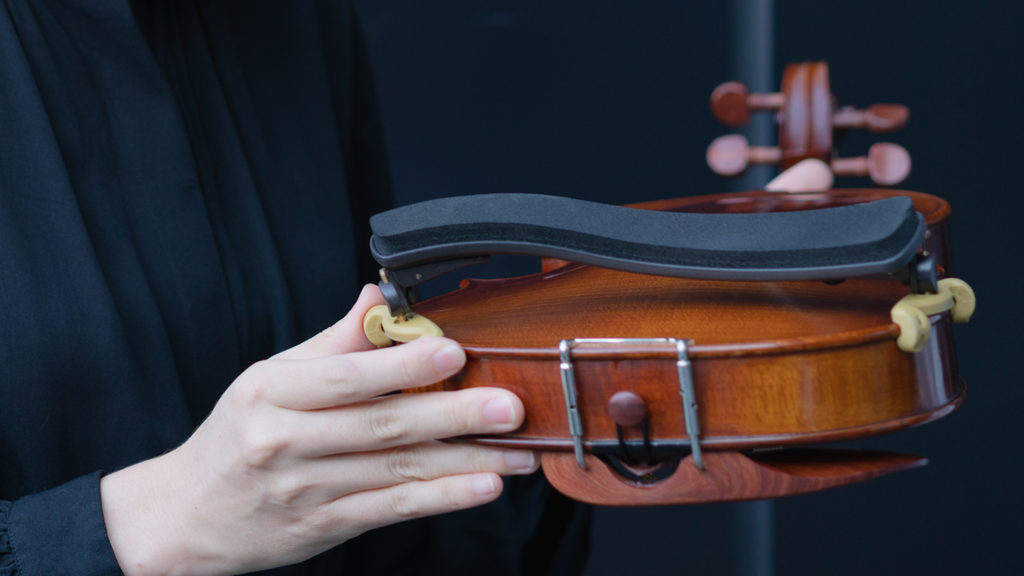
Step 3: Attach the Feet to the Violin
Once you’ve selected the optimal shoulder rest model for your needs, it’s time to attach it to your instrument. Follow these steps:
- Make sure the violin back is clean and free of rosin buildup. Excess rosin can prevent the feet from sticking properly.
- Position the shoulder rest feet against the back of the violin on the lower bouts. The feet should be equidistant from both edges.
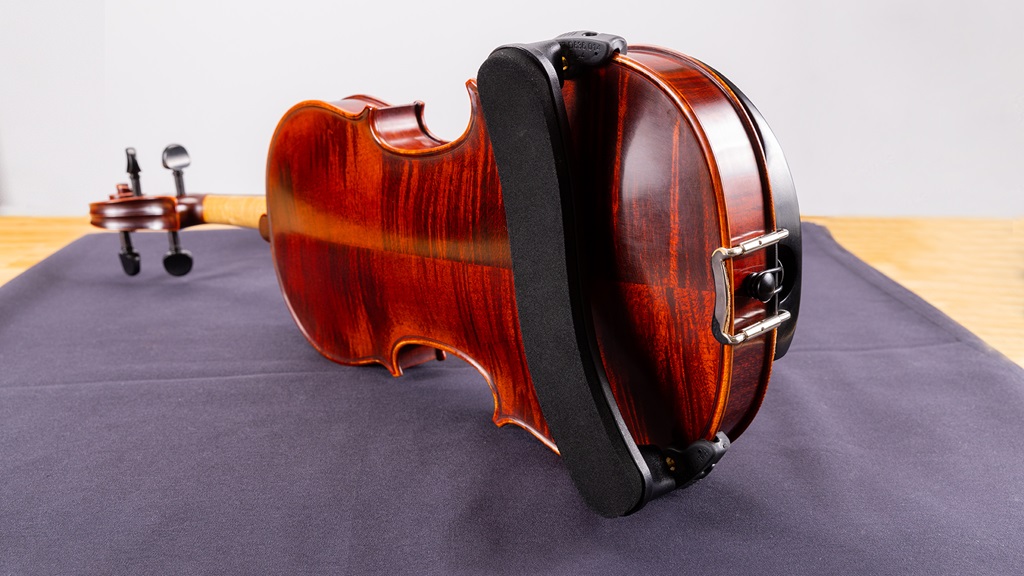
- Tighten the feet screws gradually and evenly to firmly secure the rest. The bottom edges of the feet should align with the bottom edge of the violin back.
- Test the tightness by gently pulling on the base of the rest away from the violin. The feet should remain firmly in place.
- Re-adjust and tighten the screws as needed until the rest stays securely on the violin back without sliding.
Attaching the feet tightly and in the proper position keeps the rest stable for playing. Always double check the screws regularly before playing.
Step 4: Adjust the Violin and Shoulder Rest Position
The shoulder rest is now securely attached. However, you still need to find the ideal position that allows you to hold the violin correctly. Follow these tips:
- With your violin in playing position, look in a mirror to check that the instrument is parallel to the ground.
- The shoulder rest base should sit comfortably on the collarbone – not too close to the neck or far onto the shoulder.
- Angle the feet to get the desired head tilt angle. Your scroll should be in line with your left eyebrow.
- Position the violin so your wrist is straight and relaxed – not cramped or bent upwards.
- Your jaw should rest lightly on the chinrest without tension. Don’t grip tightly with your chin.
- Make small adjustments to the shoulder rest feet position and angle as needed until you find the sweet spot.
Take your time to tweak the shoulder rest positioning. Even 1-2mm changes can make a noticeable difference in comfort and ease of playing.
Step 5: Check Your Playing Posture
You’ve got the shoulder rest placement dialed in. Now double check your overall violin holding posture with these tips:
- Feet shoulder width apart for balance and stability.
- Keep your back straight but not rigid.
- Relax your shoulders down and square them parallel to the ground.
- Allow your elbow to hang down in a natural position. Don’t squeeze the violin too tightly.
- Extend your neck comfortably without straining upwards or downwards.
- Hold the scroll at eye level with your wrist and palm relaxed.
- Let the violin sit in the chinrest without gripping too tightly.
Make small posture adjustments as needed. Proper form reduces tension and fatigue so you can play your best.
Step 6: Tune and Rosin the Violin
Before playing, the final step is tuning your instrument and preparing the bow:
- Use a chromatic tuner to tune all strings to the proper pitches. Tune carefully and methodically.
- Once in tune, check tones across different strings for harmonics. Make fine tuner adjustments as needed.
- Prepare your bow rosin by gently rubbing the entire cake back and forth a few times.
- Finally, rosin the bow hairs evenly from frog to tip in straight long strokes. Only a light coating of rosin is needed.
With excellent posture and a well-tuned violin, you are now ready start practicing and performing! Take your time finding the ideal shoulder rest fit and placement for you. Proper setup makes all the difference in comfort, endurance, and quality of playing.
Conclusion
Putting on a violin shoulder rest may seem like a straightforward task, but finding the ideal fit and position for your body and instrument requires maintenance and precision. Take your time assessing your needs, selecting the proper shoulder rest model, securely attaching the feet, adjusting the placement, checking your posture, and tuning the violin. With the right setup, your shoulder rest will provide stability and comfort – allowing you to reach your full potential as a violinist. Use the tips in this guide to start the process off on the right foot. With practice and fine adjustments over time, you can achieve optimal ergonomics and take your playing to the next level.
Frequently Asked Questions
What size shoulder rest should I get for a small child?
For a child violinist, choose a smaller sized shoulder rest with a narrower base to fit their petite frame. Models made for 1/10 to 1/2 size violins are best. Prioritize comfort, as very young kids are still developing muscle strength and posture.
How do I clean my wood shoulder rest?
For wood shoulder rests, use a soft dry cloth to remove rosin buildup and dirt. To sanitize, wipe it down with isopropyl alcohol diluted with water. Oil it periodically with mineral oil to keep the wood from drying out. Avoid moisture damage by not soaking the rest.
My shoulder rest slides down while playing. How do I fix this?
If your shoulder rest slips consistently, first check that the feet screws are tightened securely to the violin back. You can also try adjusting the feet angle so the base sits a little higher on your shoulder. Finally, replace old straps or pads to increase grip.
Should the shoulder rest feet touch my shoulder at all?
Ideally, the shoulder rest feet should not make contact with your shoulder when playing. The feet should align with the bottom of the violin only. If the feet dig into your shoulder, adjust the angle and height so the base sits comfortably on your collarbone.
Is there a benefit to attaching a shoulder rest chinrest?
Attached chinrests on shoulder rests provide extra stability and positioning consistency. However, they limit your ability to adjust chinrest placement separately. Try with and without one to decide if the added stability outweighs the reduced flexibility.